One of the ways we can reduce our carbon footprint is to simply eat less meat (and when we do eat it, to make sure it is grassfed, organic, and local). I don’t eat a whole lot of meat to begin with which means I’m always on the lookout for a delicious veggie-based meal, especially when it comes to dinner. So when I came across this recipe for cabbage steaks, I was excited to try them. Now, it should come as no surprise that grilling cabbage will not make it taste like steak. That said, I love this dish. It’s earthy, tasty, and super healthy for you and the planet.
I tweaked the original recipes to include a splash of red chile to the mustard sauce and swapped the rosemary for tarragon to the marinade. You can make this either by roasting whole slices of cabbage or sear them individually in a hot pan. I like to pare these steaks with cannelloni beans or a simple salad. The recipe is easy enough to make and tasty enough to feel like a decadent dinner. Yum!
Ingredients:
For steaks:
whole red cabbage
olive oil
1 tbs fresh tarragon, chopped
2 cloves garlic, minced
salt to taste
For sauce:
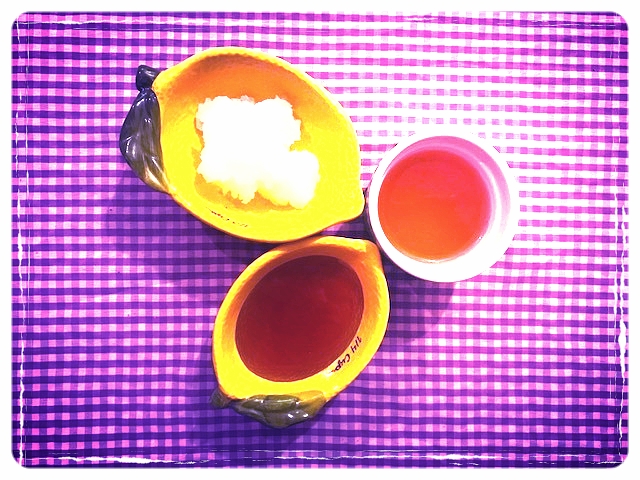
1/2 cup olive oil
1/2 cup apple cider vinegar
1 tsp red chile powder
1 tsp pepper
2 tbs mustard
1 small shallot, minced
salt to taste
Preheat oven to 425 degrees. Cut cabbage into one-inch thick slices. You can cut the tip of the stem off, but do not completely core it or the steak will be unable hold together. Lay cabbage steaks flat on an oven pan, making sure to rub top side with olive oil, tarragon, garlic, and salt, then flip over and do the same to the second side. Place pan in oven and roast for twenty minutes. Alternatively, slice desired amount of cabbage, rub in olive oil, tarragon, and garlic, then let sit for 15 minutes. Heat frying pan medium hot. Add oil and cabbage steak slice. Let sear for 2 minutes, flip, and sear another two minutes.
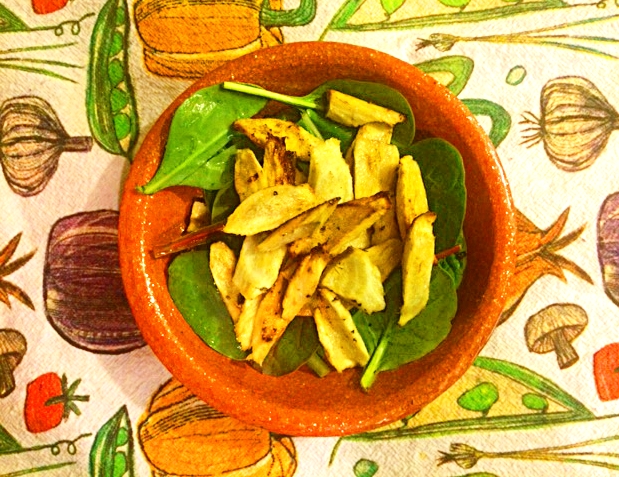
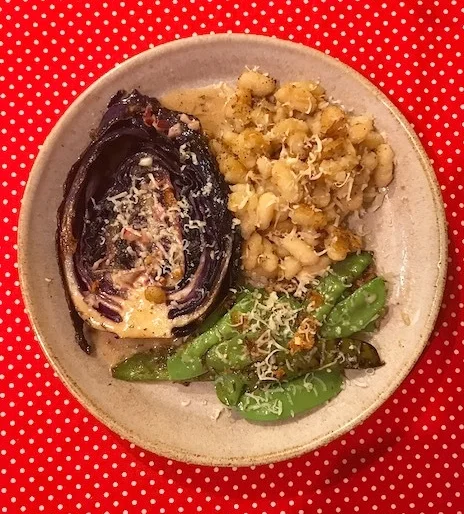
For the sauce, let minced shallots marinate in vinegar for 15 minutes in jar, then add all other ingredients and shake. Serve steaks immediately, with a simple salad or a side of cannelloni beans sauteed in ghee and garnished with shredded kale, or (pictured here) with some parmesan-crusted snowpeas.
Enchantment Learning & Living is an inspirational blog celebrating life’s simple pleasures, everyday mysticism, and delectable recipes that are guaranteed to stir the kitchen witch in you. If you enjoyed what you just read and believe that true magic is in the everyday, subscribe to my newsletter below for regular doses of enchantment. Want even more inspiration? Follow me on Instagram, Facebook, Pinterest, and Twitter. Here’s to a magical life!