
Freshly made ricotta...it didn't last long after this!
Yeah, I went there. Cheese. I love the stuff, probably too much. I love a good cheese board for appetizers (if I'm feeling classy) or dessert (if I'm feeling French), and I will never say no to an aged Gouda or a stinky, soft Taleggio...or really any cheese for that matter. And if I'm really honest, as much as I like to think up new ways to use cheese in recipes or pair it with other dainty bites, I would rather eat it on its own. Unless drinking wine with said slab of cheese counts as "pairing" it with something. So it seemed only natural that I take my relationship with cheese to the next level. Yes, I decided it was high time I make my own.
Making your own cheese--ricotta, in this case--is surprisingly easy and only takes two real ingredients: whole milk and an acid. I used lemon juice although many people use vinegar. If you want to be over the top, you can add salt to bring out the flavor of your cheese more. In fact, the only real piece of fancy equipment you will need is cheesecloth to help you separate the curds from the whey. Best of all, you really just spend about five minutes actively working on this--the rest is in the waiting between steps. Make sure to use organic whole milk because the fat-free versions don't have enough fat and contain weird additives to make the cheese curds stick together.
Once you've made your cheese, you can top with honey and cinnamon for a delicious dessert or let it be the shining of your next cheese platter. When I first attempted this, I used it in homemade gnocchi, so it easily elevates a simple pasta dish and makes you look like a kitchen wizard with very little effort.
Ingredients:
1/2-gallon whole milk
2 lemons, juiced
1 tsp salt
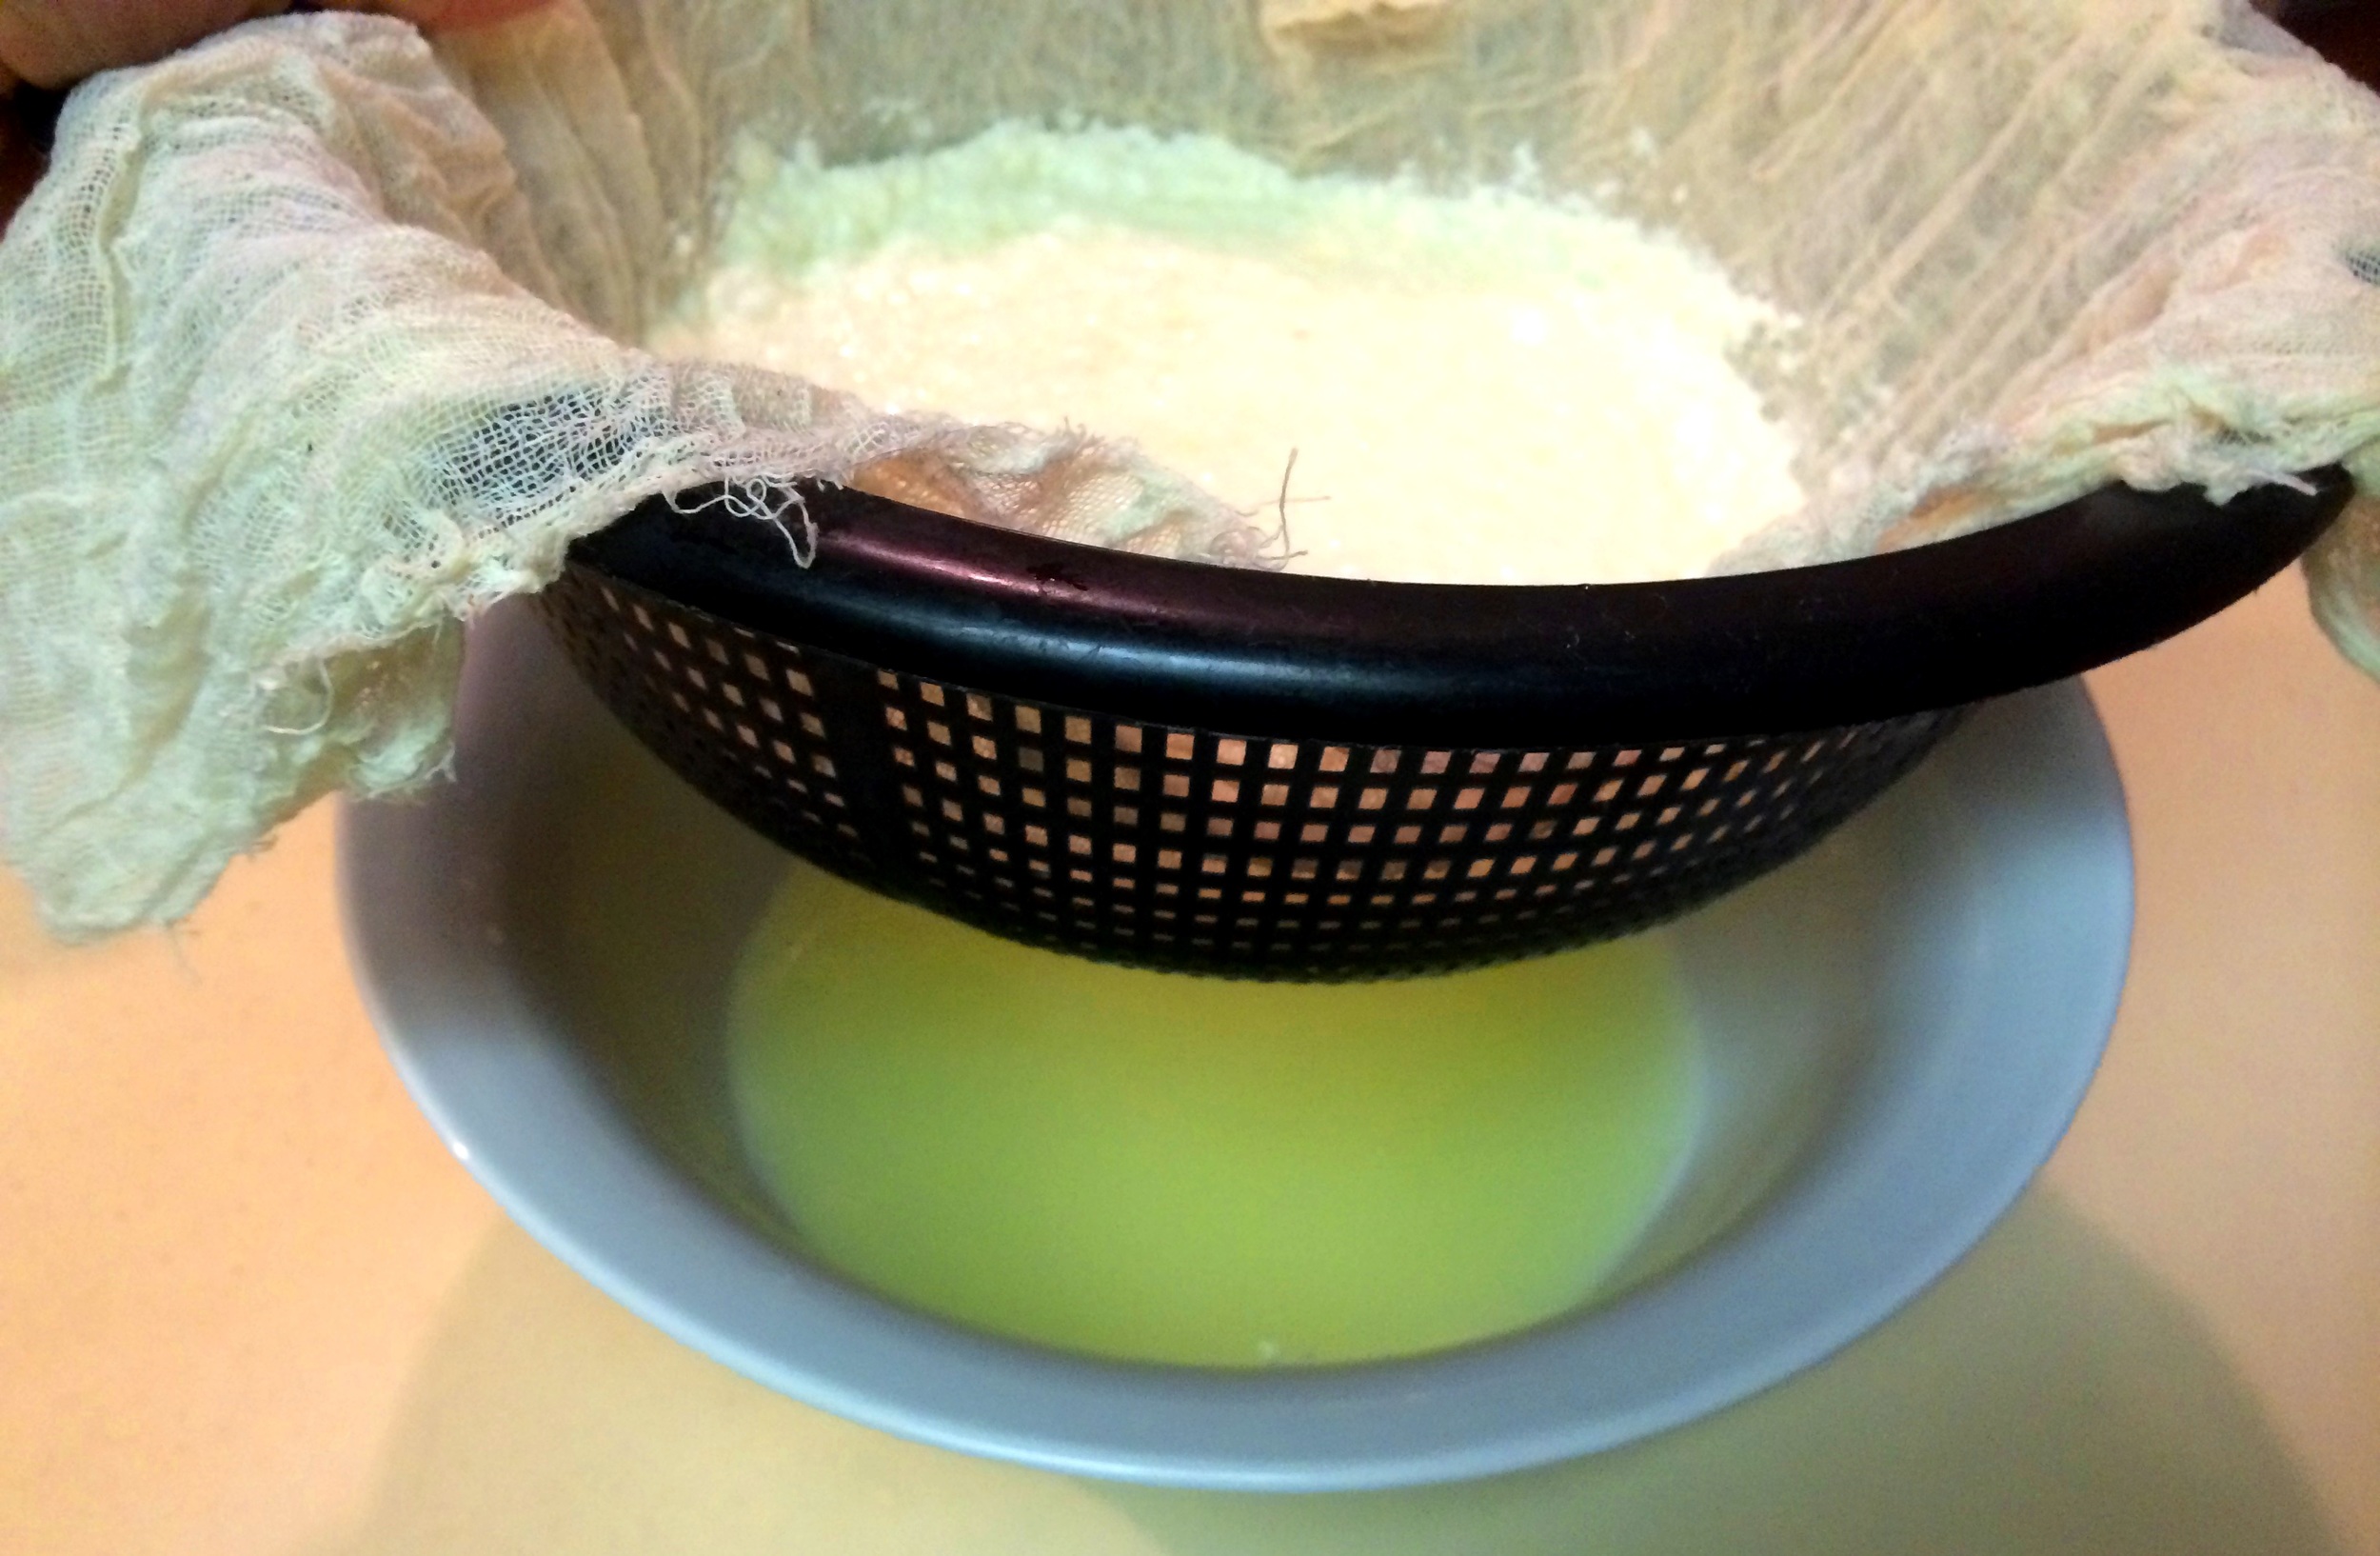
Allow milk to heat in a saucepan on medium-high heat until just about to boil (about ten minutes). While milk is heating, fold a piece of cheese cloth in half so that it makes a finer sieve. Place a colander in a bigger bowl, then put the layered cheese cloth over the colander.

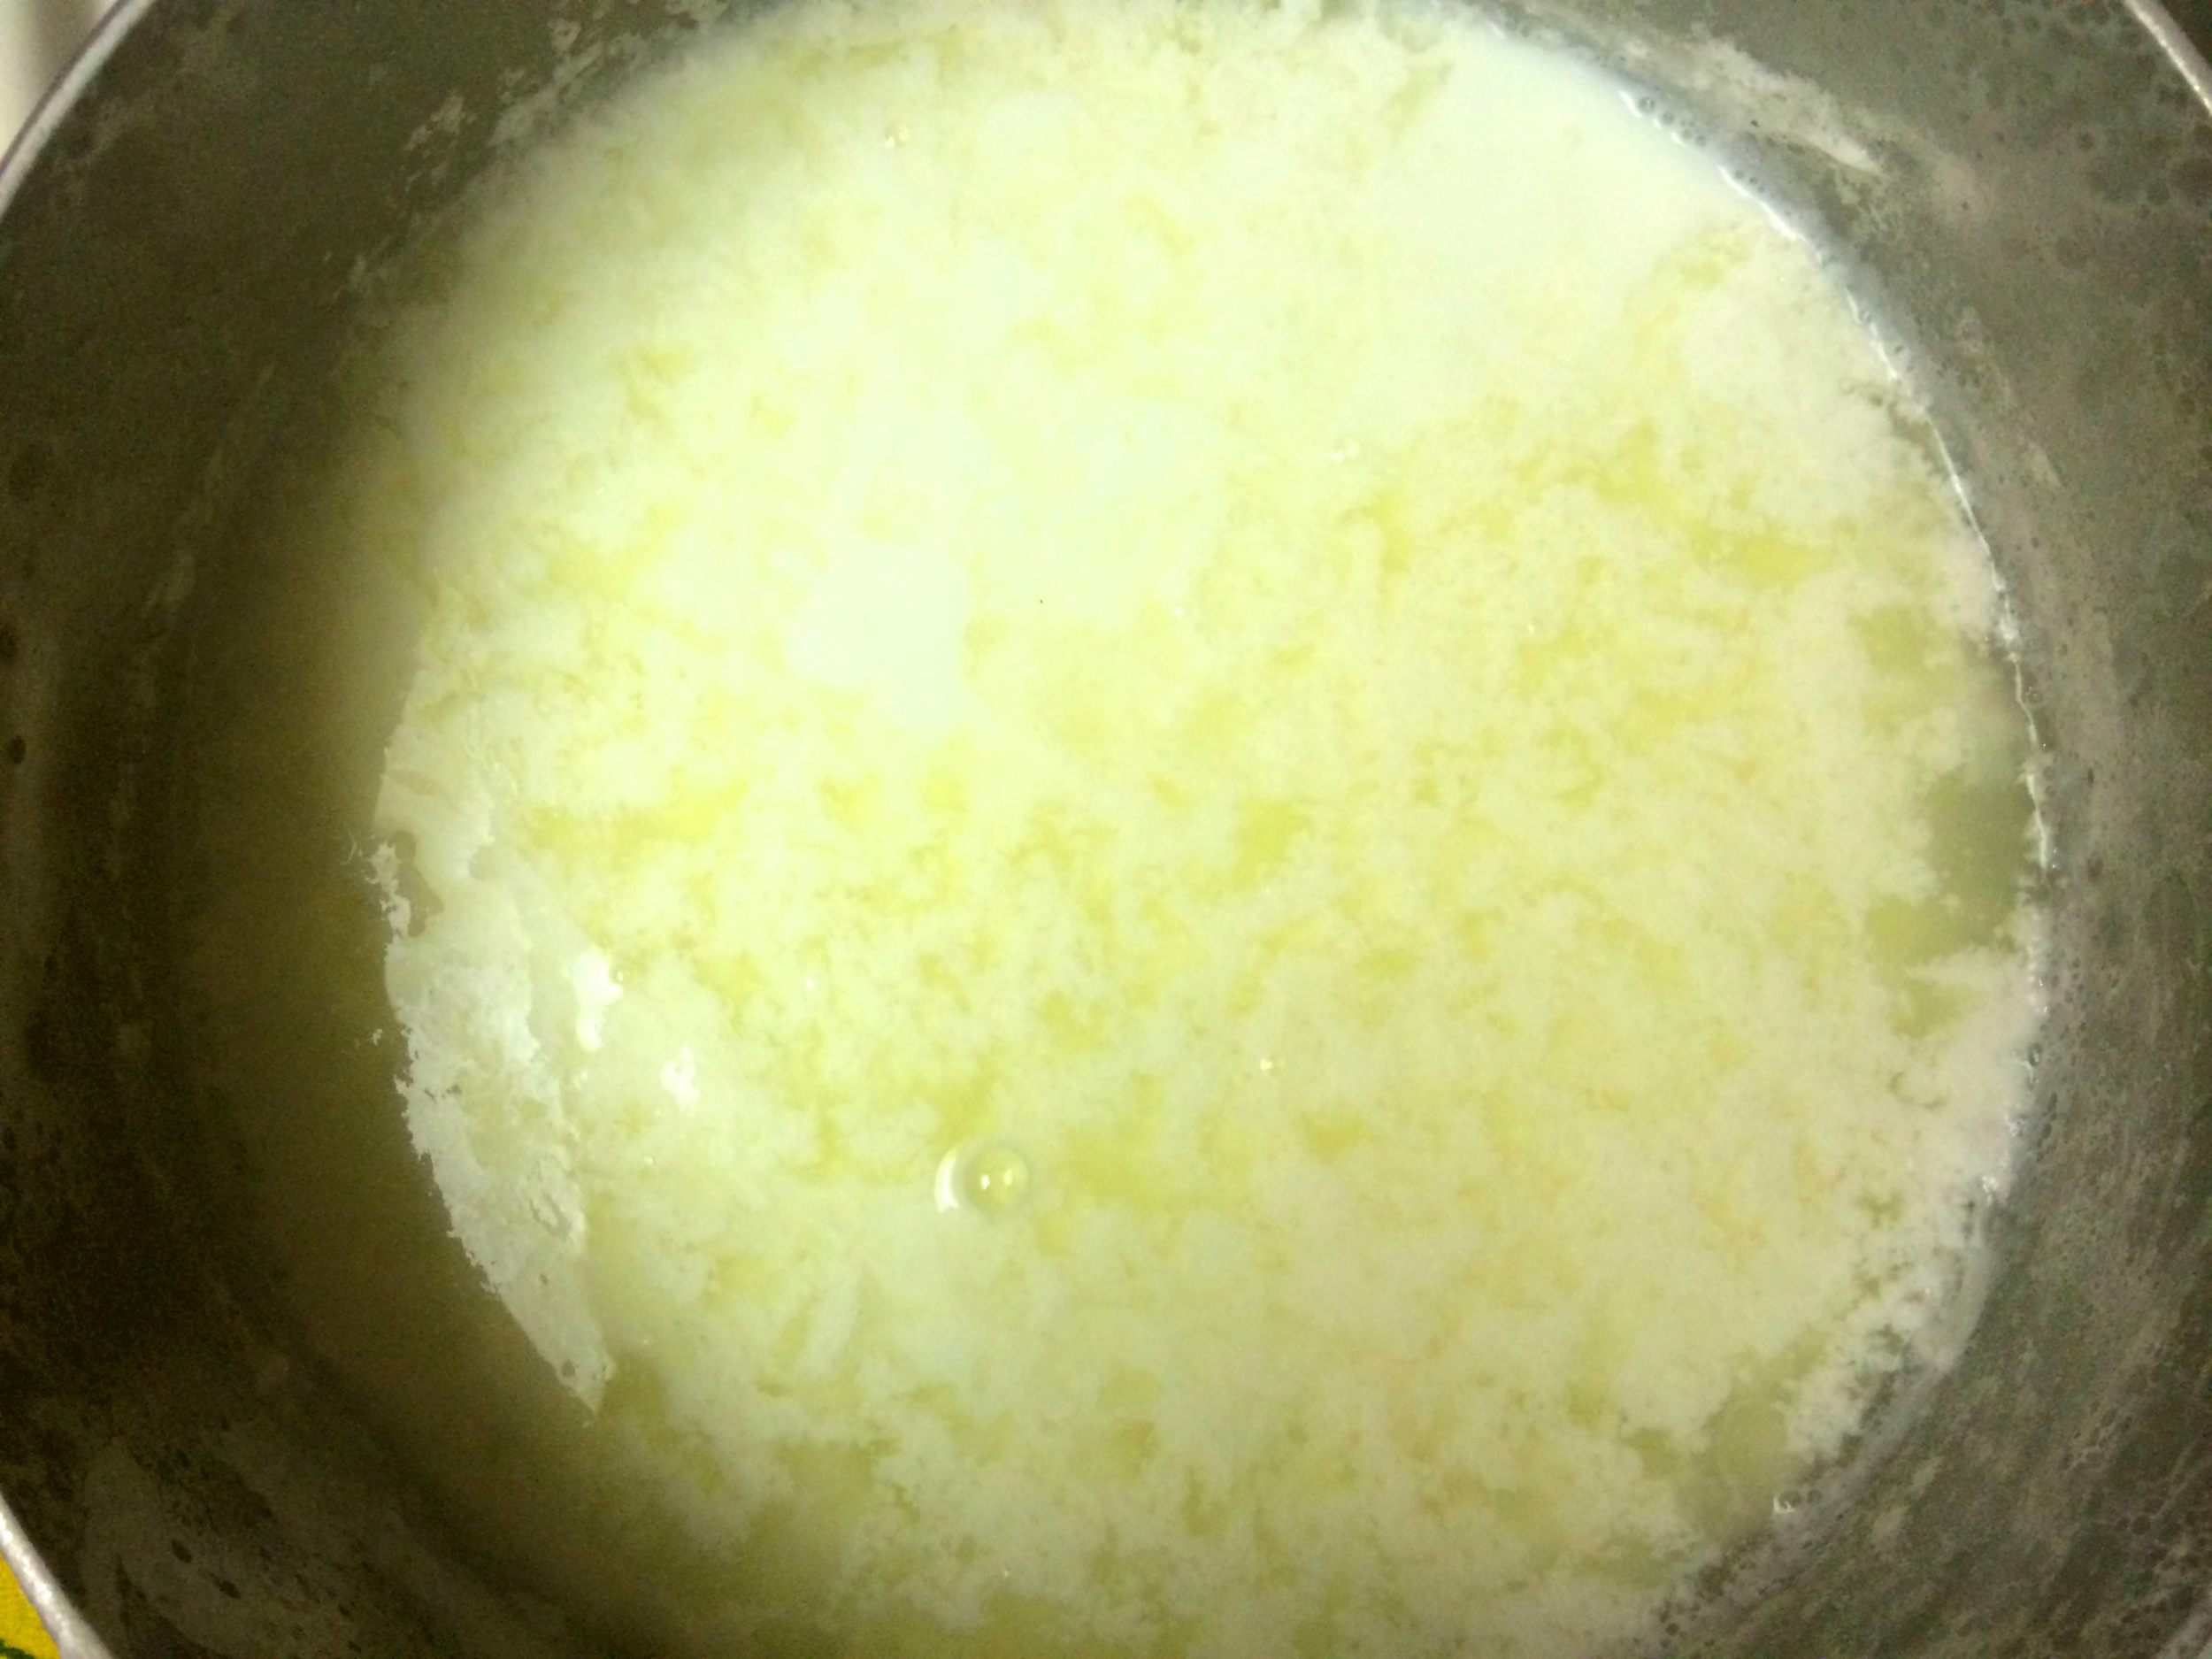
Once milk it hot-to-almost-boiling, remove from heat and add lemon juice, stirring just until the acid is combined with the milk. You will see it begin to curdle. Let sit for five minutes.
Then pour your curdled milk over the cheesecloth.

The whey will drain through the cheesecloth and colander and collect in the bigger bowl. Let sit for about 20 minutes then lift the cheese cloth away from the colander and squeeze out any remaining liquid. Makes about two cups of cheese. Store in fridge for up to five days.
Don't throw the whey out--save it and freeze it using an ice cube tray. The whey can be added to omelets and smoothies for an extra boost of calcium and protein.

Enchantment Learning & Living is an inspirational blog celebrating life’s simple pleasures, everyday mysticism, and delectable recipes that are guaranteed to stir the kitchen witch in you. If you enjoyed what you just read and believe that true magic is in the everyday, subscribe to my newsletter below for regular doses of enchantment. Want even more inspiration? Follow me on Instagram, Facebook, Pinterest, and Twitter. Here’s to a magical life!